

Genies are always built in Help Genie Voice — Outbound never creates or edits one; it
only decides which of them make calls.
The genie gallery
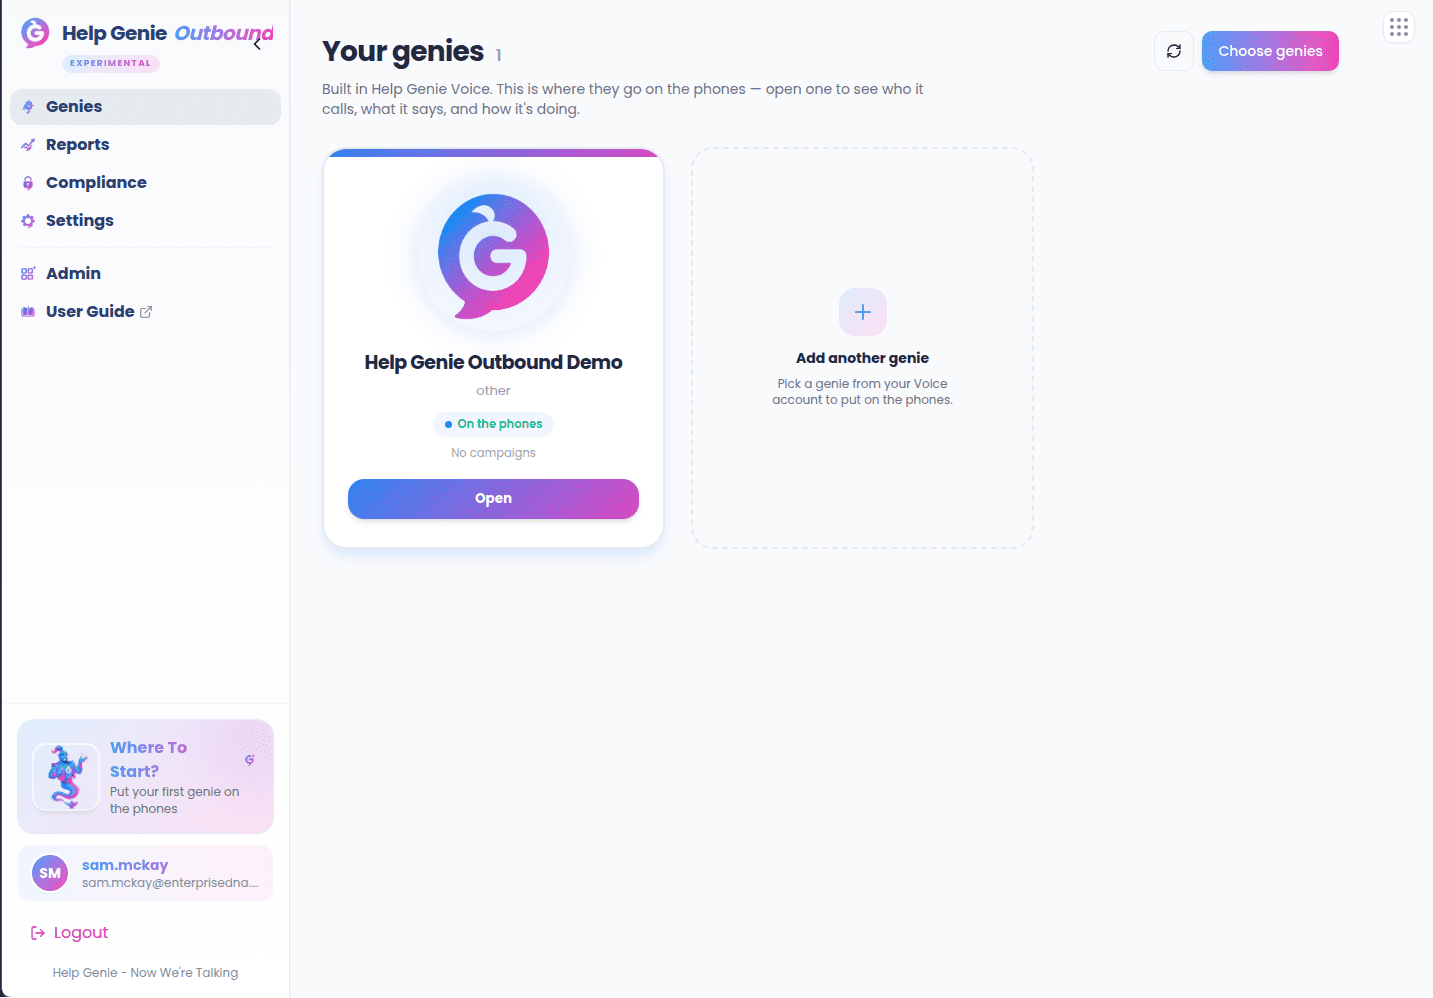
Each genie appears as a card with its mascot, name, what it does on calls, a status, and a short summary of its week. The number next to the page title is how many genies you’ve picked.
Click a card (or its Open button) to go into that genie and see who it calls, what
it says, and how it’s doing.
Choosing your genies
The first time you arrive, nothing is picked yet and you’ll see Pick your genies to get started.1
Open Choose genies
Click Choose genies (or the Add another genie tile at the end of the
gallery).
2
Select your genies
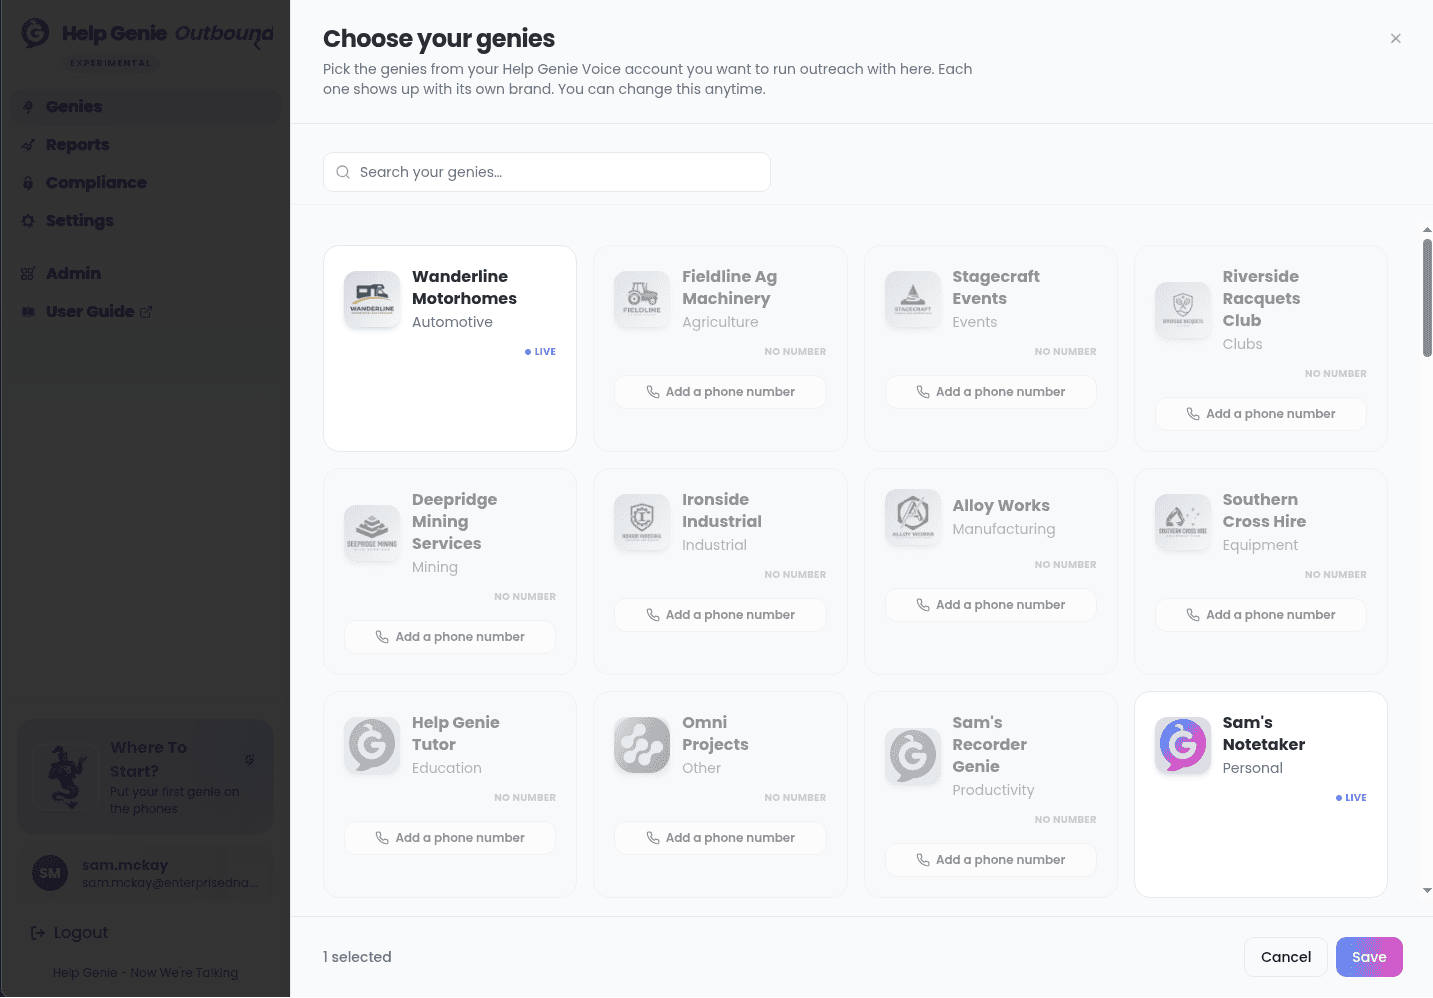
Select the genies you want. Each one shows its own brand, and whether it’s Live
or Paused. If you have more than six genies, a search box lets you filter by
name, role, or brand.
3
Save
Click Save.
Genies without a phone number
A genie needs a phone number before it can be picked. Genies without one are greyed out and marked No number, with an Add a phone number link that opens the phone setup for that genie in Help Genie Voice.If a genie you’d already picked loses its number in Voice, it’s dropped from your
selection the next time you save.