

/user-hub/genie-setup), from the New Genie buttons around the app, or by choosing a ready-made Genie from the template catalogue. It opens full-screen so you can focus on the setup.
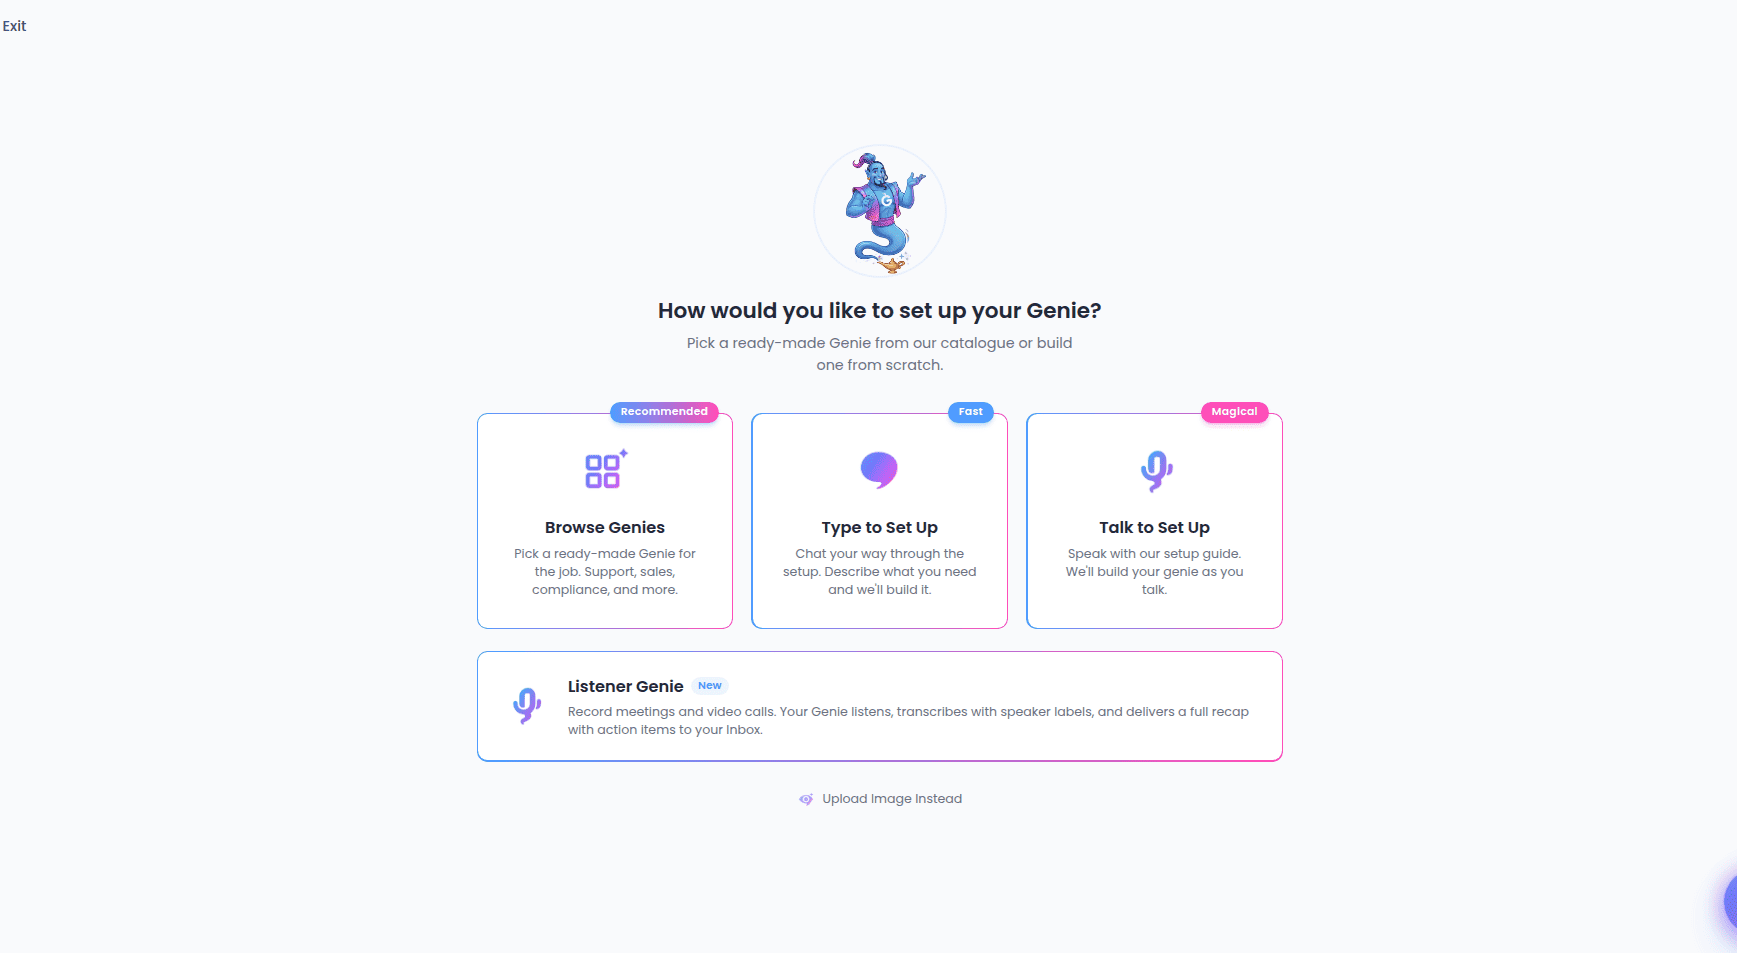
Choosing how to start
When the flow opens, you pick a starting point:- Browse Genies (Recommended) — open the template catalogue and pick a ready-made Genie for the job. It arrives pre-configured, and you land straight in the review step to add your own touches.
- Type to Set Up (Fast) — set up by chatting. Describe what you need in text and Your Genie builds the configuration as you go.
- Talk to Set Up (Magical) — speak with the setup guide out loud. It asks a few questions and builds your Genie as you talk. See Setting up by voice.
- Listener Genie (New) — a different kind of Genie that records and transcribes meetings and video calls rather than answering callers. It has its own short form. See The Listener Genie form.
- Upload Image Instead — upload a photo of your business (a storefront, a menu, a flyer) and we extract the details to pre-fill your Genie.
The three stages
However you start, setup moves through the same three stages.1. Describe
You tell us what the Genie is for — by talking, typing, uploading an image, or starting from a template. The setup guide gathers what it needs: the Genie’s purpose, tone, first thing it says, and more. When you finish a voice or chat conversation, we analyze it to draft your Genie’s settings. A status message and loading screen keep you posted while this runs. If anything goes wrong, your conversation is saved safely and you can pick up where you left off — see Resuming a setup.Starting from a template or an uploaded image skips straight to the review stage — the draft is built for you, so there’s nothing to describe first.
2. Review
This is the Review Your Genie screen, where you confirm and fine-tune everything before creating the Genie. It’s organized into steps you can move through one at a time, or switch to All Fields to see everything on one page. See Reviewing and creating your Genie for a full walkthrough of this stage. The steps cover:- Branding — avatar and visual identity.
- Identity — name, category, and what the Genie is for.
- Voice — the voice it speaks with and its personality traits.
- Insights — what it should collect and who gets notified.
- Knowledge — documents and resources it can draw on.
- Advanced — finer conversation settings and pronunciations.
- Ownership — who owns the Genie.
- Review — a final summary before you create.
3. Confirmation
When you select Create Genie, we build it and show a success screen. From there you can:- Test Your Genie — opens your new Genie in a live session in a new tab.
- View My Genies — go to your My Genies list.
- Create Another — start a fresh setup.
Creating a Genie requires an active subscription. If your plan isn’t active, you’ll be taken to My Genies to review your options.
Resuming a setup
Setup is designed so you never lose your work. If analysis fails or you leave mid-way, your conversation is stored and can be resumed:- A Resume Setup button appears on the setup screen if something interrupted the analysis. Selecting it rebuilds your draft from the saved conversation and drops you into the Review stage.
- You can also resume an unfinished setup later from your Genies list — it reopens on the review screen with your details ready to confirm.