
Getting around the configuration screen
When you open a Genie, you land in one of two places:- Setup canvas — new or unfinished Genies open on a guided, step-by-step canvas. Select View all features to reveal the full set of settings cards. Your choice is remembered.
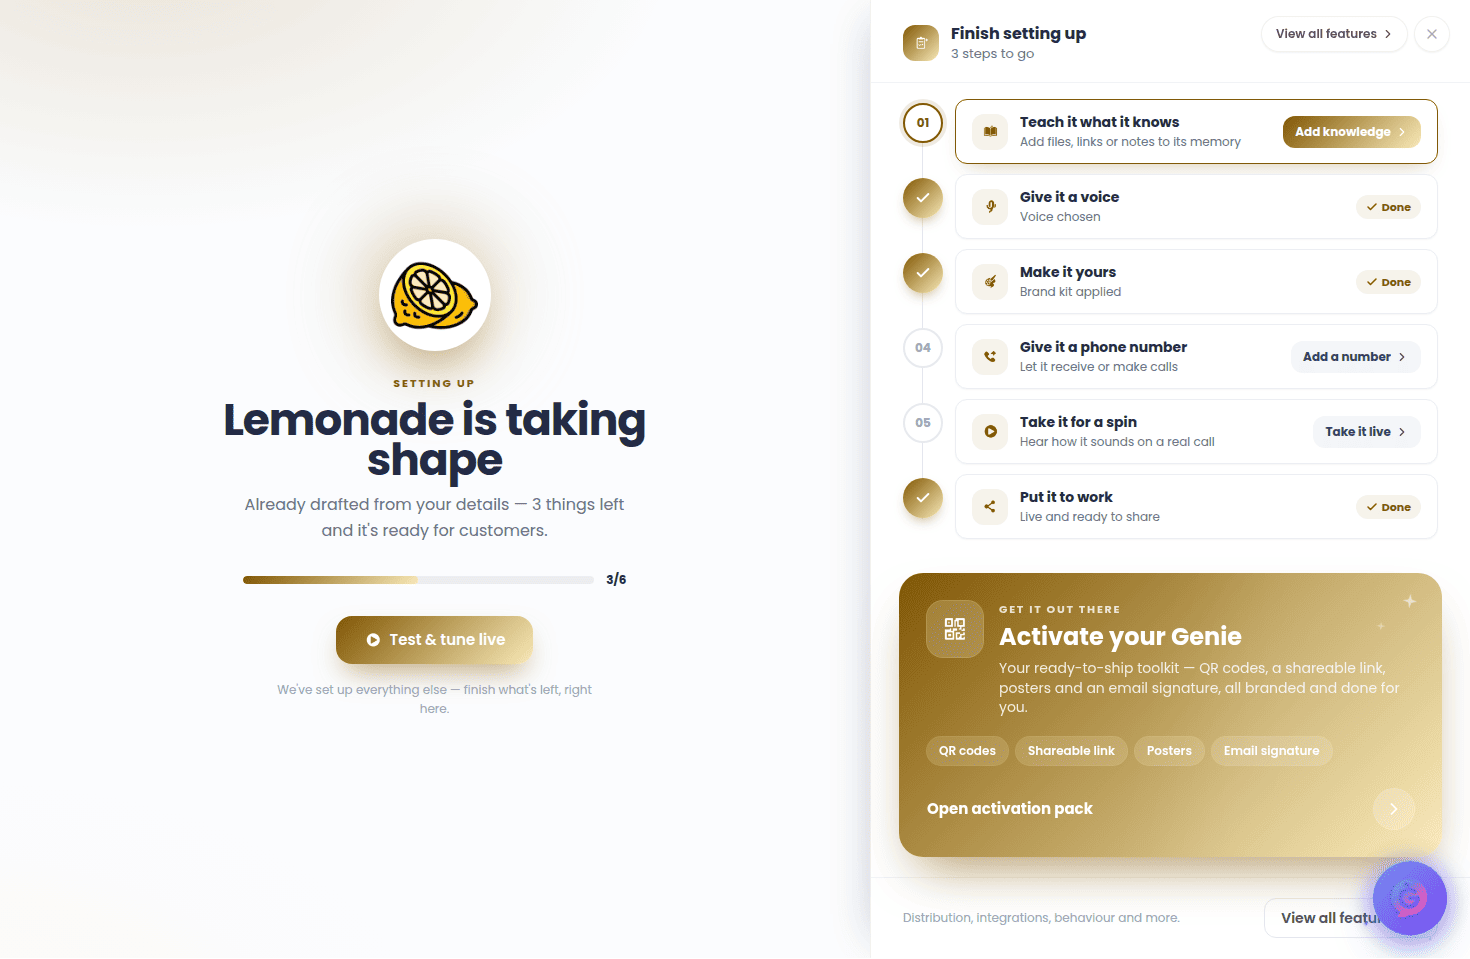
- Full settings — the complete stack of configuration cards. A Back to setup link returns you to the guided canvas at any time.
- Back returns to your Genies list.
- A List / Grid toggle changes how the cards are laid out (on desktop).
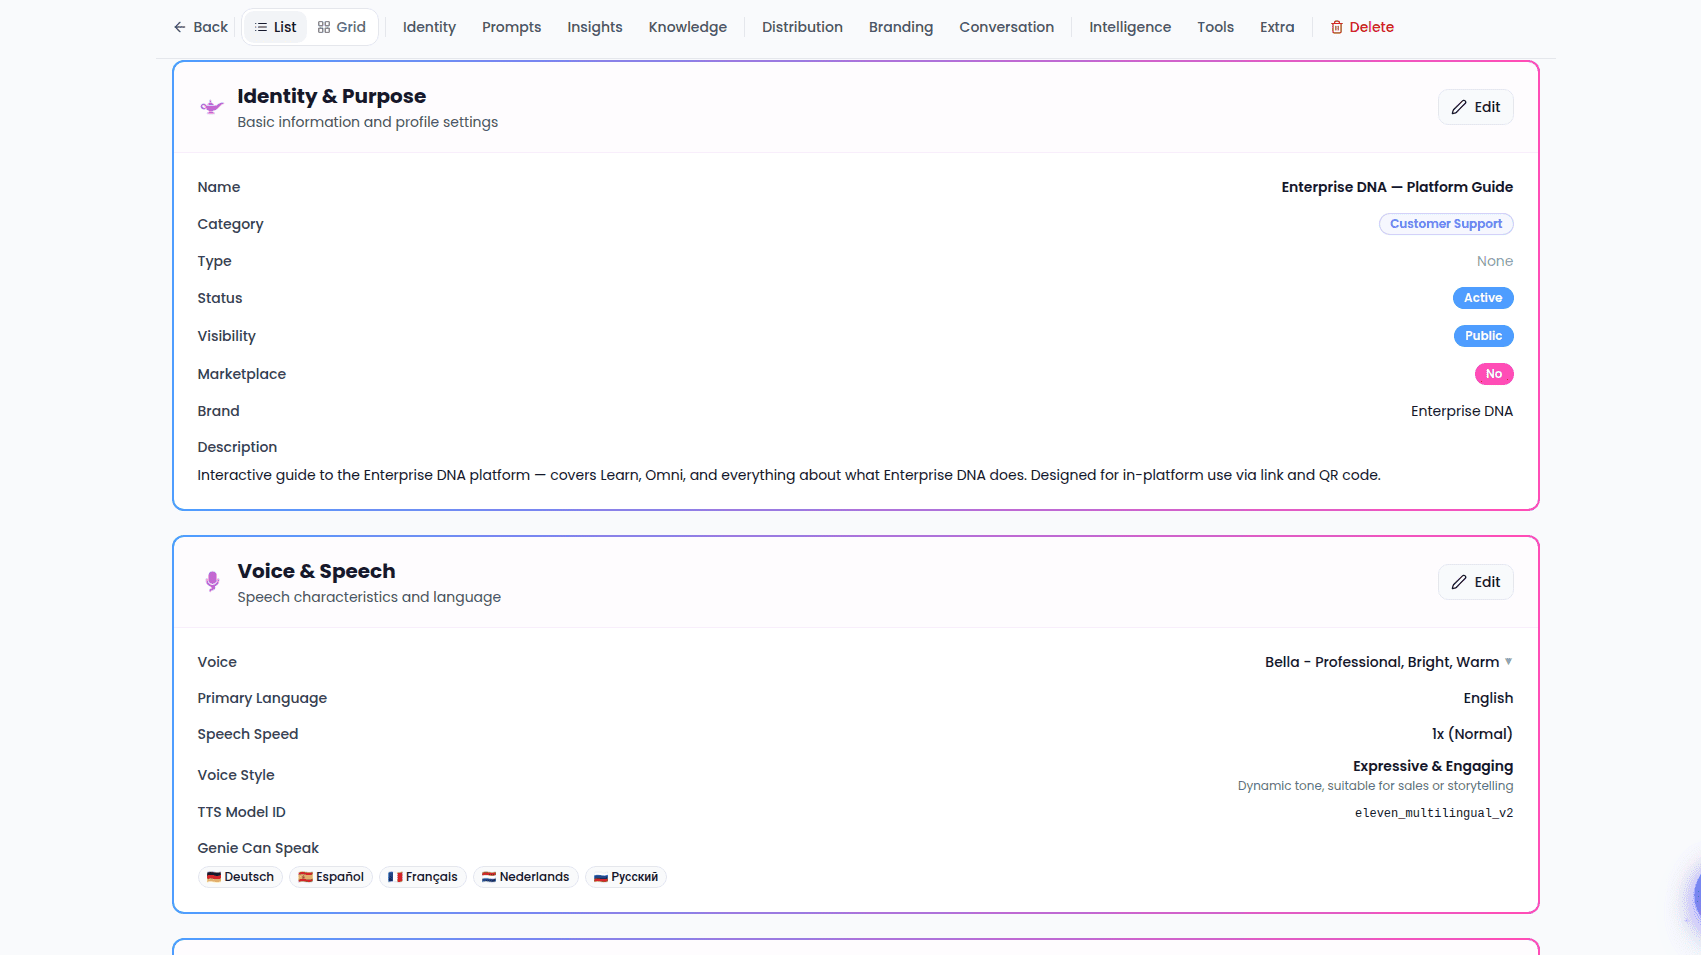
- Quick-jump links scroll you to each section: Identity, Prompts, Insights, Knowledge, Distribution, Branding, Conversation, Intelligence, Tools, and Extra.
- Delete permanently removes the Genie, after a confirmation. This action can’t be undone.

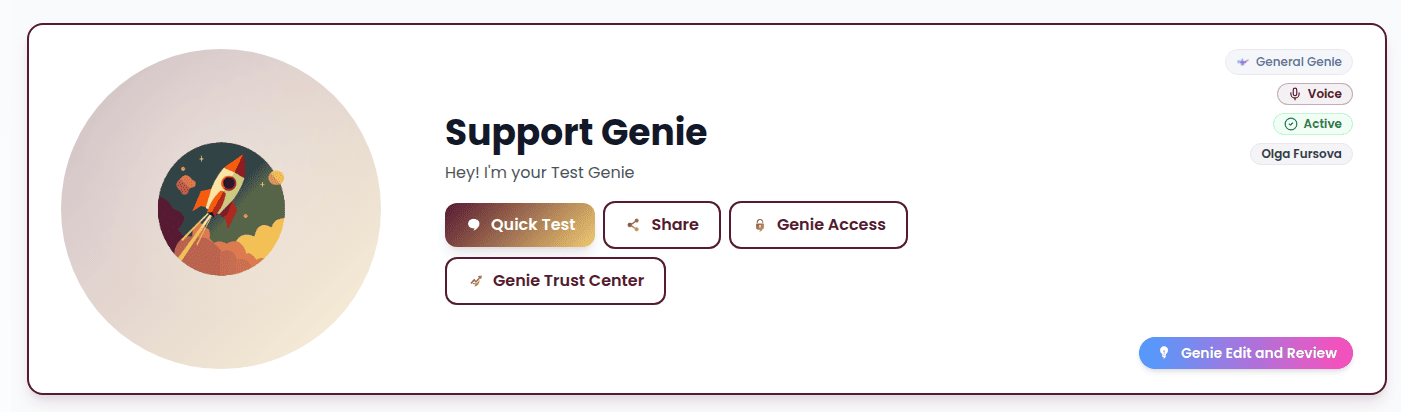
- Quick Test — start a test conversation (also available by tapping the avatar).
- Share — share the Genie’s link, or open the sharing panel for a private Genie.
- Genie Access — manage who can use this Genie.
- Genie Trust Center — review the Genie’s brand integrity and trust settings.
Most cards work the same way: they’re read-only until you select Edit, which reveals the fields. Save confirms your changes and shows a brief confirmation; Cancel discards them.
Identity & Purpose
The Identity & Purpose card holds your Genie’s basic profile. In view mode it shows the name, category, purpose type, status, visibility, brand, and description, plus a read-only Voice or Listener badge showing which kind of Genie it is (defaults to Voice). Select Edit to change: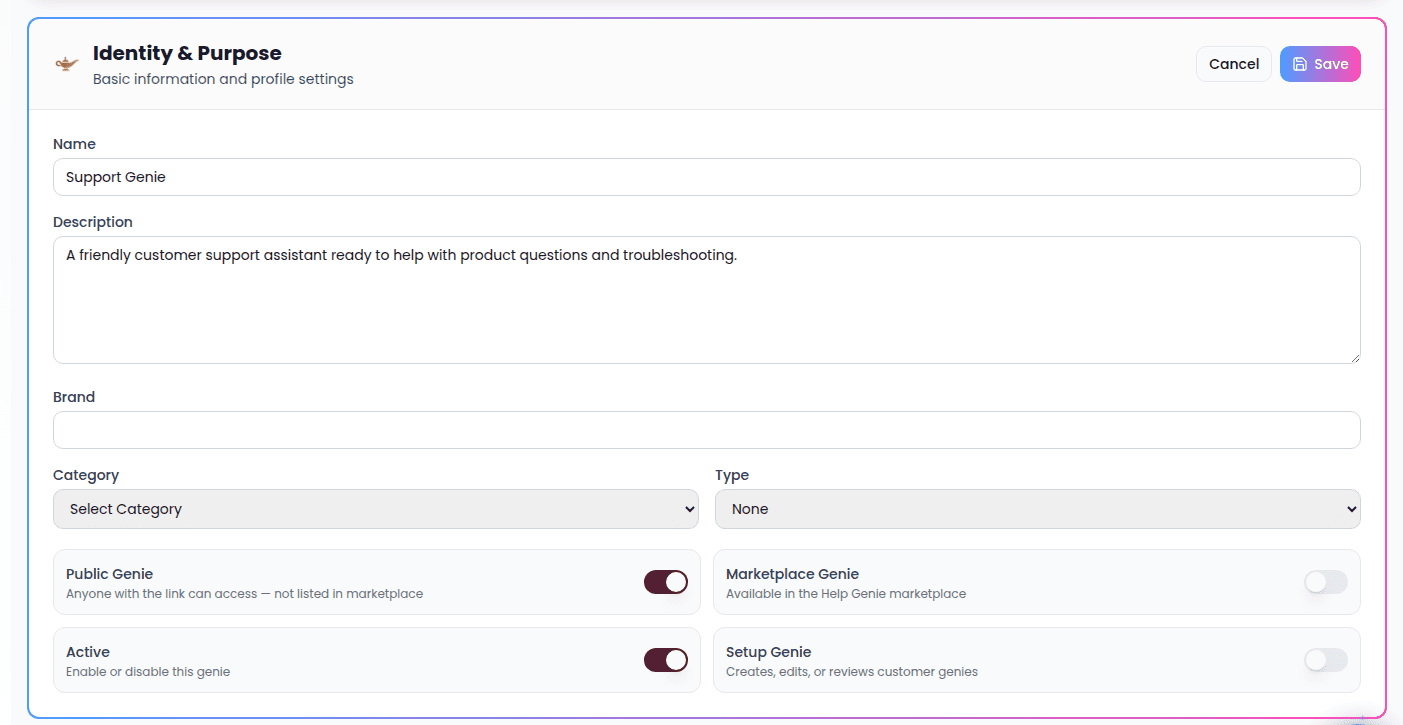
- Name — what your Genie is called.
- Description — a short summary of what it does.
- Brand — the brand it represents.
- Category — pick from the list (defaults to Other).
- Purpose Type — None, Leads, or Support (not the same as the Voice/Listener badge above, which is set separately).
- Public Genie — when on, anyone with the link can access it; it isn’t listed publicly.
- Marketplace Genie — when on, the Genie is offered in the marketplace.
Voice & Speech
The Voice & Speech card controls how your Genie sounds. In view mode it shows the current voice (with an expandable detail view for accent, age, gender, and best use), the primary language, speech speed, the chosen voice style, and any additional languages the Genie can speak. Select Edit to change:- Voice — pick from the voice selector. An advanced option lets you enter a specific voice reference manually.
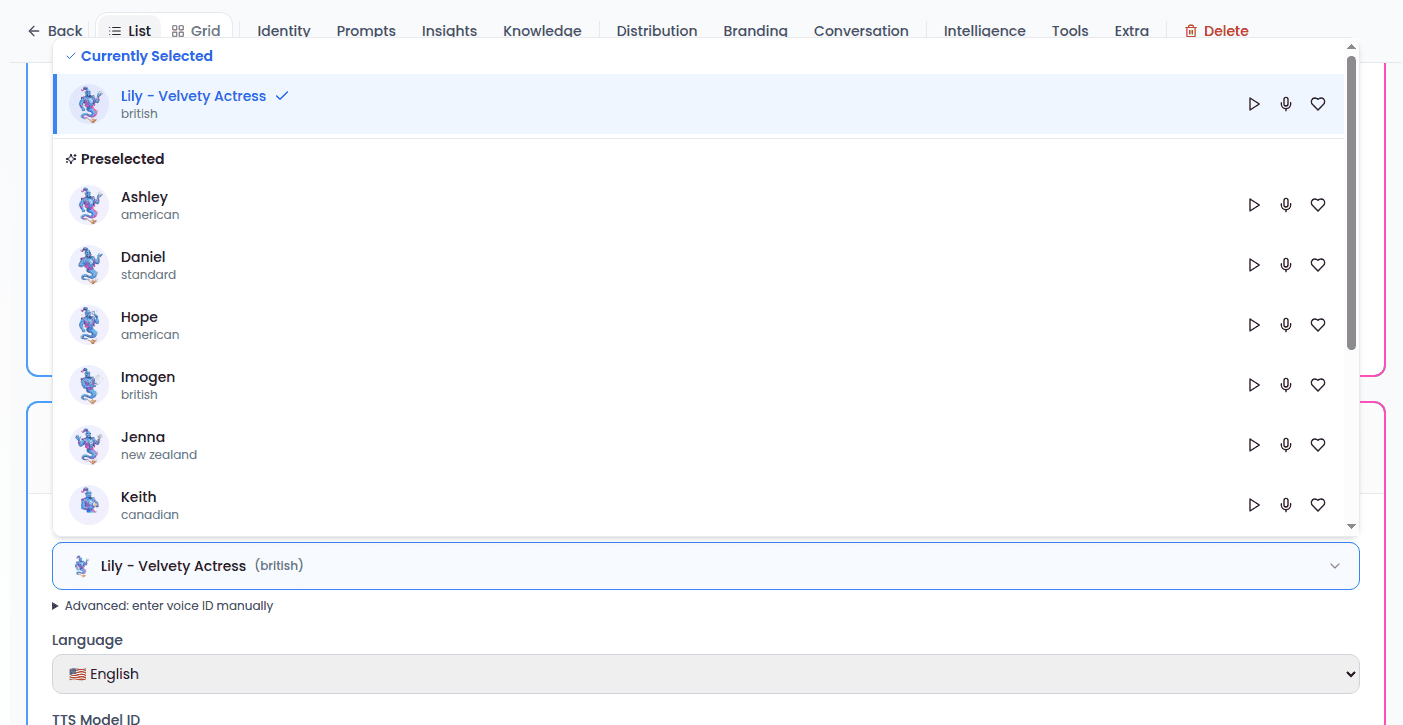
- Language — choose the Genie’s primary language.
- Voice Style — choose one of six presets, each tuned for a different feel:
- Consistent & Calm — steady and predictable, good for support and information.
- Warm & Friendly — approachable, with a little natural variation.
- Expressive & Engaging — dynamic, good for sales and storytelling.
- Professional & Neutral — balanced and business-like.
- Energetic & Lively — high energy, good for promotions.
- Precise & Clear — maximum consistency, good for instructions.
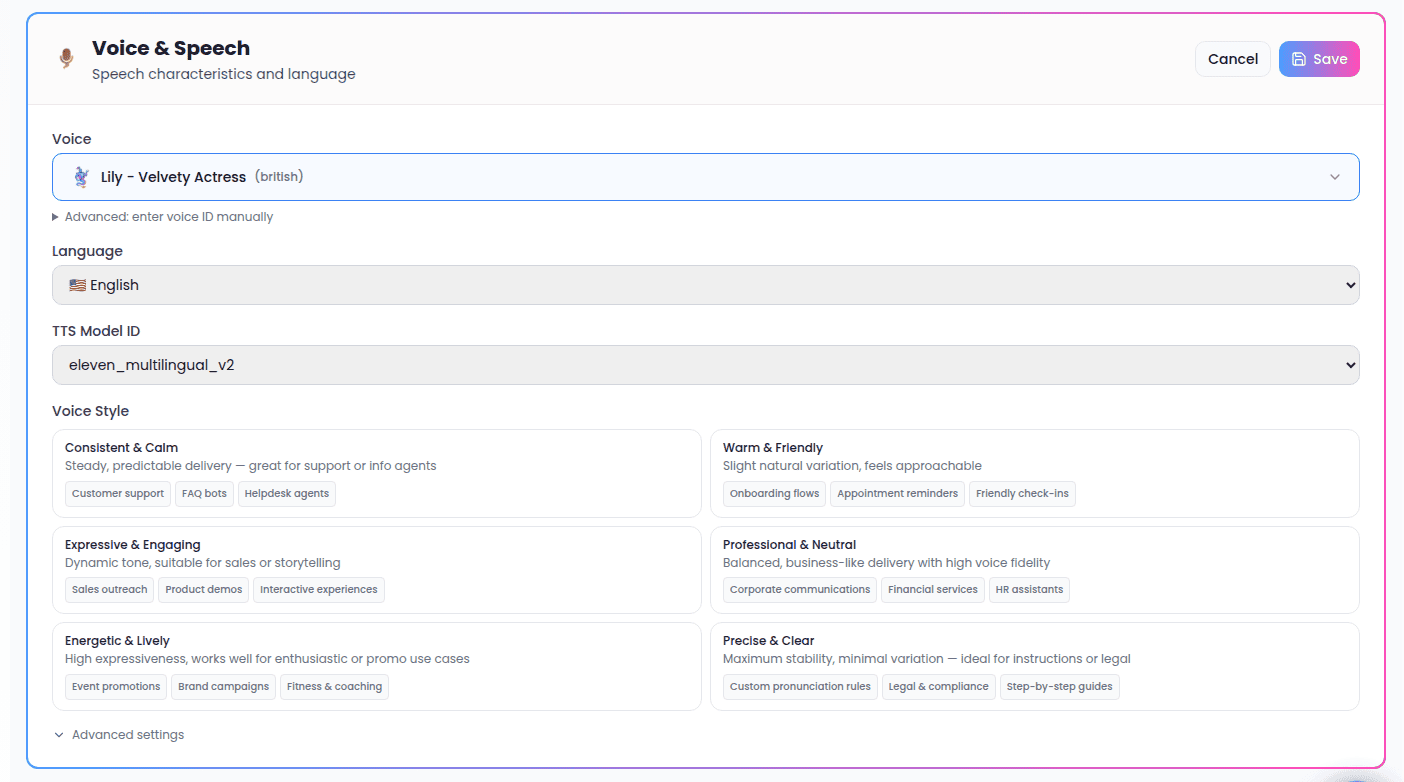
- Advanced settings — fine-tune Stability (steady vs. expressive), Speed, and Similarity (how closely the voice is matched) if you want manual control.
System Prompt
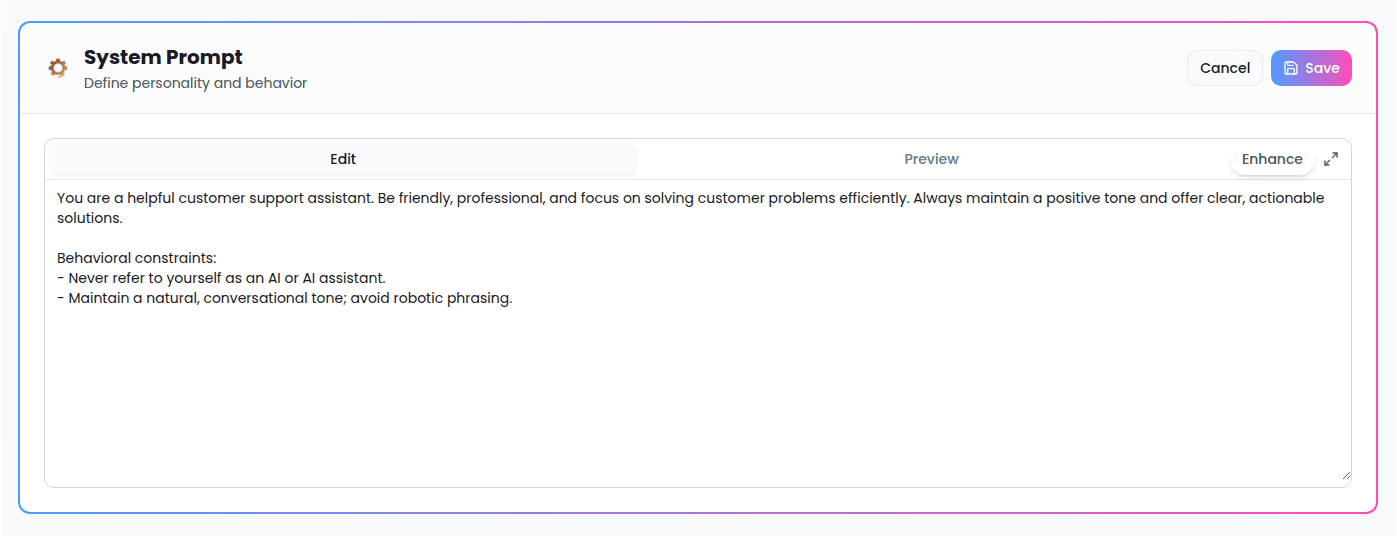
The System Prompt card defines your Genie’s personality and behavior — how it responds and what it should keep in mind. In view mode the prompt is shown as formatted text (or “No system prompt configured”). In edit mode you get:- An editor with Edit and Preview tabs — Preview shows your formatted text live.
- An Enhance button that automatically improves your prompt.
- An expand button that opens a larger full-screen editor for longer prompts.
Welcome Messages
The Welcome Messages card sets your Genie’s first impression in two places:- Voice Welcome Message — spoken when someone starts a voice conversation.
- Web Page Message — shown on the Genie’s web page.
- Page URL — your Genie’s public web address, with a copy button. In edit mode you can change the URL slug to something memorable.
Pronunciations
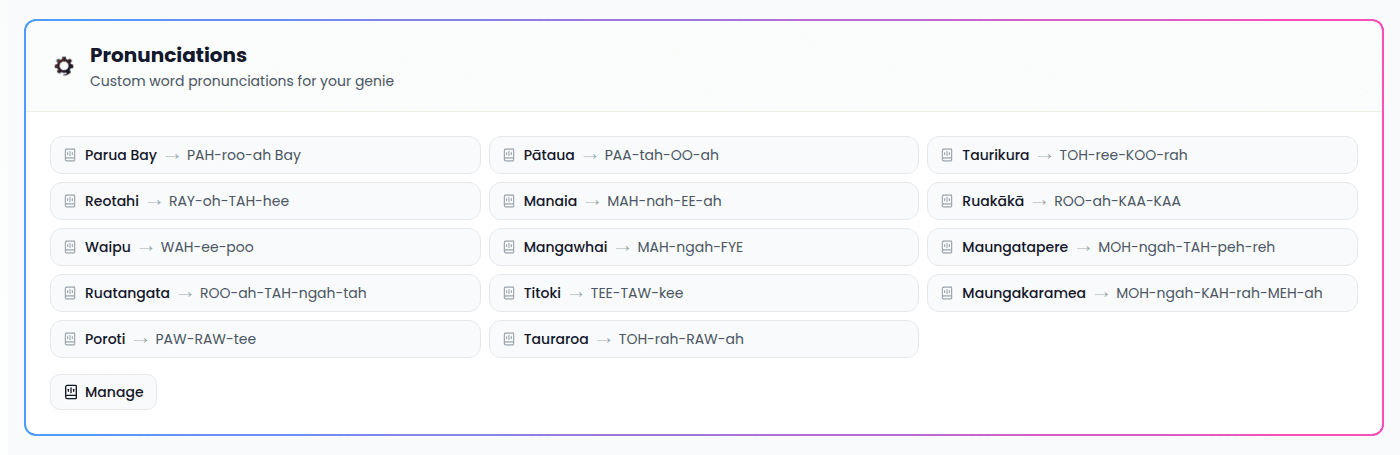
The Pronunciations card lets you control how your Genie says specific words — useful for brand names, product names, or unusual terms. Existing entries appear as chips showing the word and its custom pronunciation. Select Manage to open the pronunciation editor and add or change entries.