

/genie-hub/templates), or by choosing Browse Genies on the setup start screen.
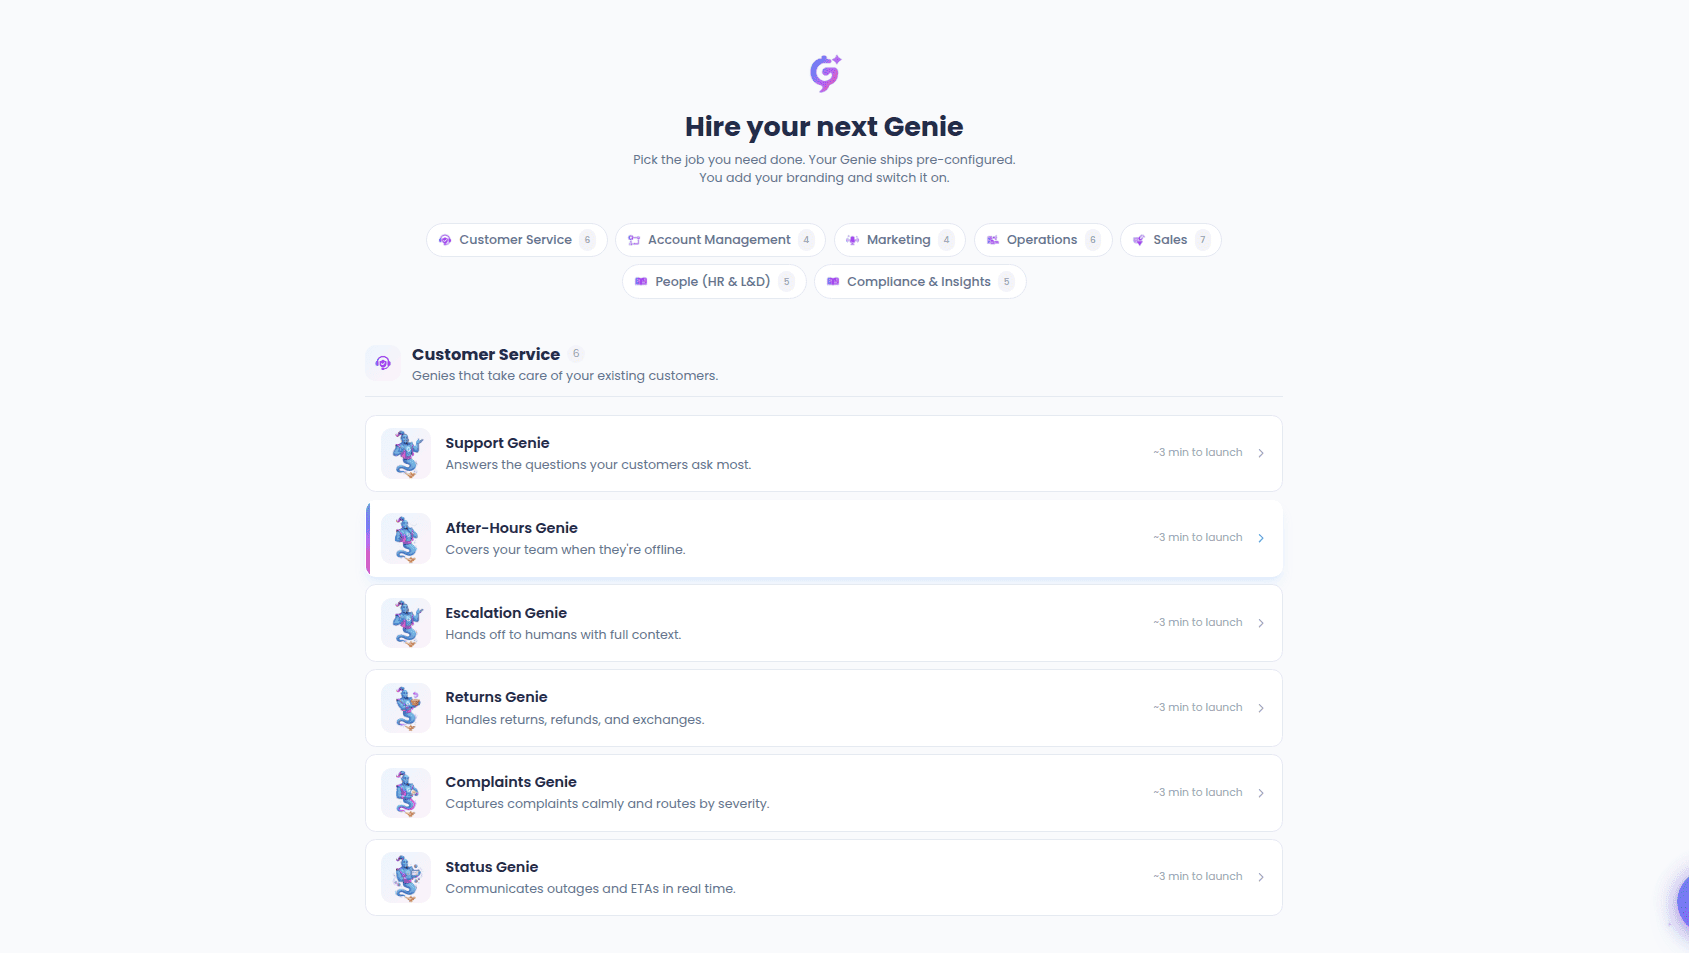
Browsing the catalogue
The catalogue is organized like a menu, with Genies grouped under business functions:- Customer Service — Genies that take care of your existing customers.
- Account Management — Genies that grow and retain your customer base.
- Marketing — Genies that get you in front of the right people.
- Operations — Genies that run the back-office work that eats your week.
- Sales — Genies that win new business: qualify, quote, dial, close.
- People (HR & L&D) — Genies for hiring, employee experience, and learning.
- Compliance & Insights — Genies that make sure nothing slips and capture the signal.
The Genie preview
Choosing a Genie opens a preview (the “kickstart” screen) so you know exactly what you’re getting before committing. It shows:- The Genie’s mascot, name, and tagline.
- A fuller description of how the Genie works.
- What this Genie will do for you — a short list of the concrete jobs it handles.
- What happens when you deploy — a reminder that the template is cloned pre-wired, then you add your branding, point it at your knowledge, and connect your channels.
Deploying a template
Selecting Deploy this Genie takes you into Genie Setup with the template already loaded. Behind the scenes this opens the setup flow with the template applied (/user-hub/genie-setup?template=<name>), so you skip the “describe your Genie” stage entirely.
The template pre-fills your draft with:
- The Genie’s name and purpose.
- A ready-made first message and conversation prompt.
- Sensible conversation settings and category.
- Any tools and knowledge the template comes with.
Deploying a template never creates a Genie on its own — it only pre-fills the setup. Nothing goes live until you review the details and choose Create Genie.