

Insights
The Insights card defines what information your Genie extracts from each conversation — for example a caller’s name, email, or the reason they got in touch.- Attached Insight shows the insight currently in use, or a note that none is attached. When one is attached, you’ll see how many fields it collects and a grid of those field labels.
- Create Insight opens a short form where you describe what you want to capture in plain language; the fields are generated for you and attached to the Genie.
- Edit adjusts an attached insight’s name, description, and fields; Remove detaches it (without deleting the insight itself).
- Manage Insights opens the Insight Manager to view, edit, organize, and reuse insights across Genies.
Knowledge Base
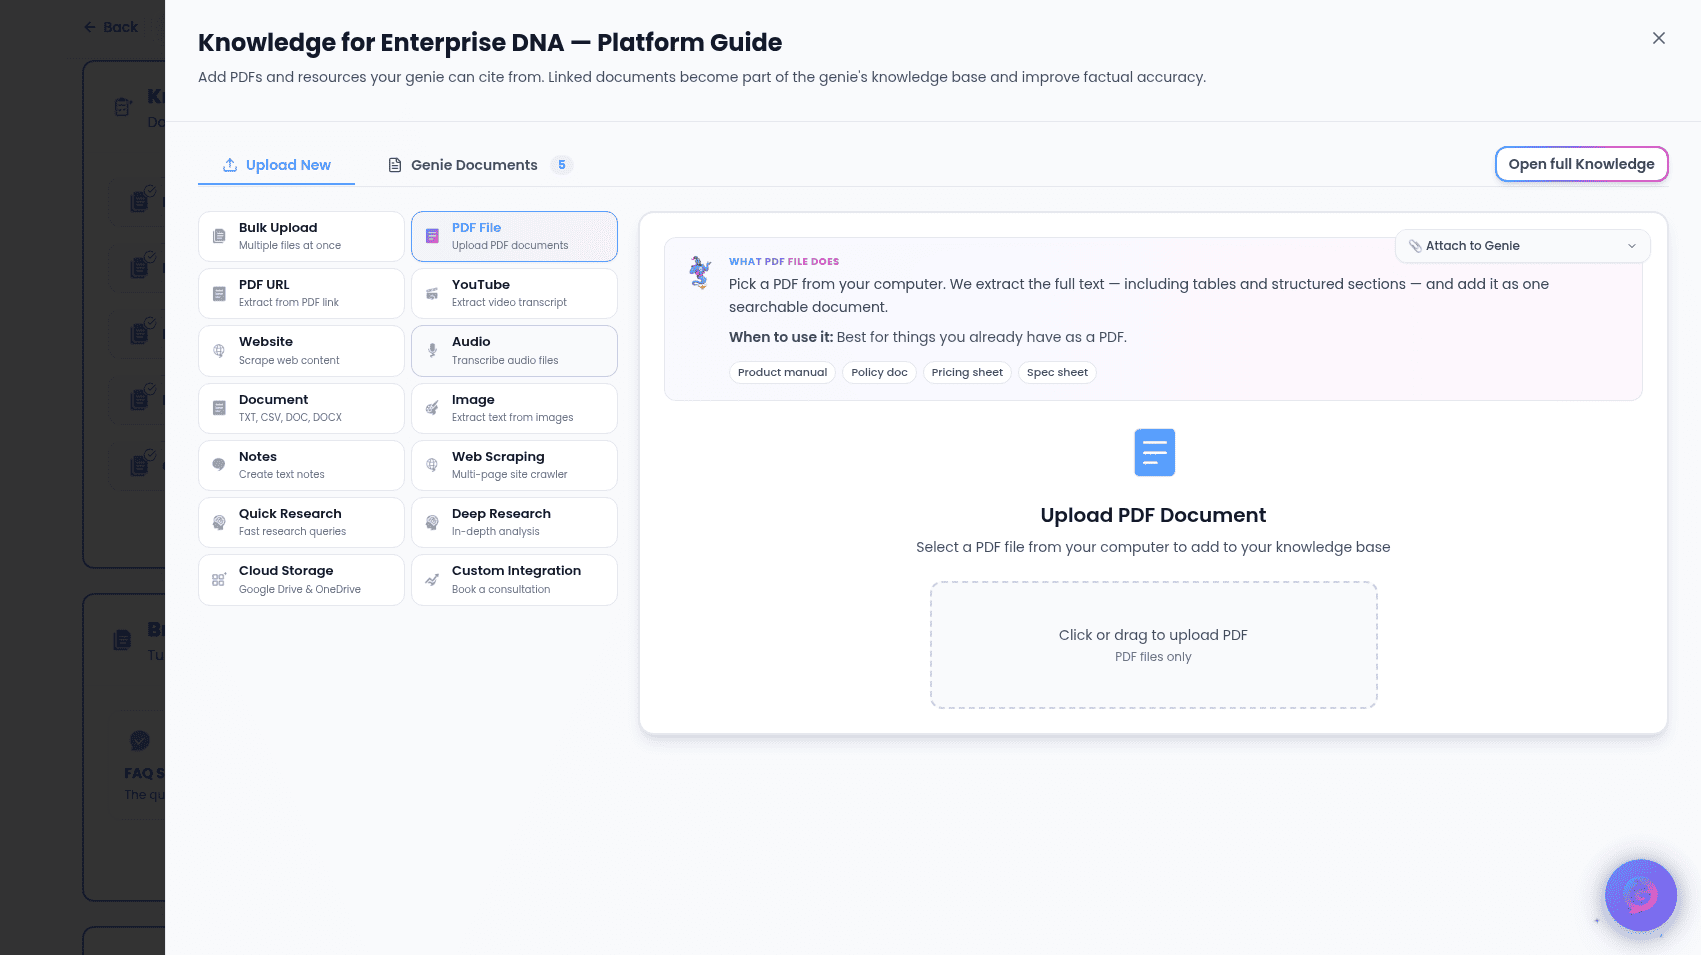
The Knowledge Base card lists the documents this Genie draws on to answer people. When empty, it prompts you to link documents. When documents are linked, each appears as a card where you can:- View — open the original document in a new tab.
- Edit — open the document’s details to update it, send it to (or remove it from) the Genie’s live knowledge base, or delete it.
- Detach — remove it from this Genie without deleting the document.
Branded Documents
The Branded Documents card turns your Genie’s knowledge into a polished, co-branded guide you can share or print. You’ll see a set of document templates, each with a name and short description. Select Create a document (or Manage documents, once you have some) to open the generator.Private Context Source
The Private Context Source card attaches a connected integration your Genie can search privately during conversations. There’s no separate Edit mode — everything is interactive inline.- If you haven’t set up any integrations yet, you’re pointed to Integrations to create your first one.
- If integrations exist, Choose integration… opens a dropdown — each entry is tagged by type (document, API, or connected service) — and picking one attaches it.
- Once attached: Change picks a different source, Refresh re-checks its available capabilities, Detach removes it (with a confirmation prompt).
Resources
The Resources card manages the documents, links, and banner shown on your Genie’s live page — separate from the knowledge base the Genie reads from to answer questions. Select Edit to configure:- Documents — upload up to 10 files (each under 25 MB). Supported: PDF, Word, PowerPoint, Excel, text, CSV, and images. Each can be renamed or removed.
- Banner Image — paste an image URL to show a banner, with a live preview.
- Links — add up to 10 links, each with a label and a URL (validated live).
Closing page
The Closing page card is the wrap-up people see when a conversation ends. Select Edit to set:- Closing message — up to 240 characters (a live counter shows
x/240). Leave blank for a friendly default. - Next-step buttons — up to 4 buttons, each a label (e.g. “Book a call”) and a URL.
Genie Page
The Genie Page card is a summary of, and a way into, the public page anyone can visit to get help from this Genie.- A status badge shows Live or Not public, plus the page’s web address.
- Design page — opens the full Genie Page editor, where the page’s layout and content are actually configured (this card is a summary, not a second editor).
- Open — visits the live page. Copy link — copies the page URL.